


Taking photos at night with an Android rugged phone can be challenging because low light easily causes blur, noise, and poor color. This is especially common outdoors, on worksites, camping trips, trails, or dimly lit streets.
This guide explains how to improve night photos with an Android rugged phone, including shooting steps, useful camera settings, and when to use night vision instead of night mode.
Why Night Photography Is Different on a Rugged Phone
Night photography gives the camera less light to work with, so stability, exposure, and camera hardware matter more than in daytime shooting. Rugged phone users also tend to shoot in tougher places, such as dark outdoor areas, dusty worksites, wet trails, or campsites.
The main challenges include:
- Low light: The camera needs more time to capture details.
- Camera shake: Slower shutter speeds make blur more likely.
- Image noise: Higher ISO can brighten the photo but make it grainy.
- Harsh flash: Flash may wash out the subject or make the scene look flat.
- Outdoor conditions: Rain, dust, cold, and rough handling can affect shooting.
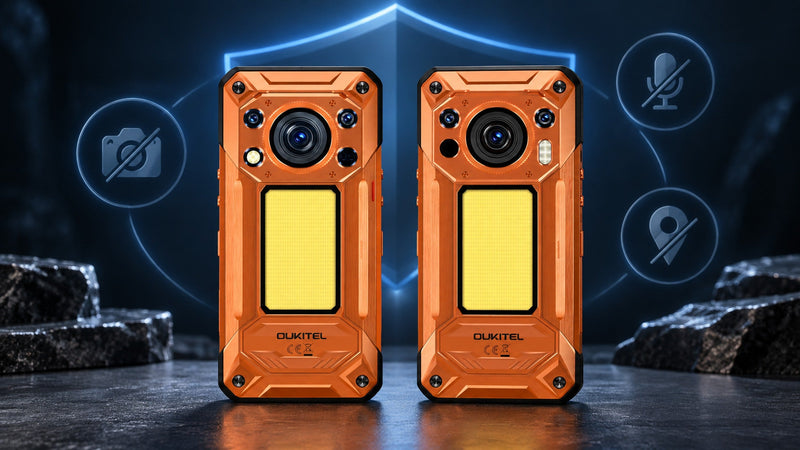
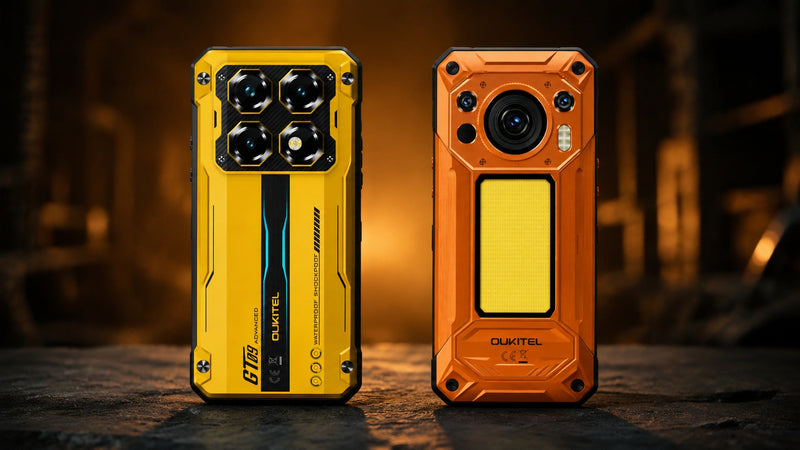
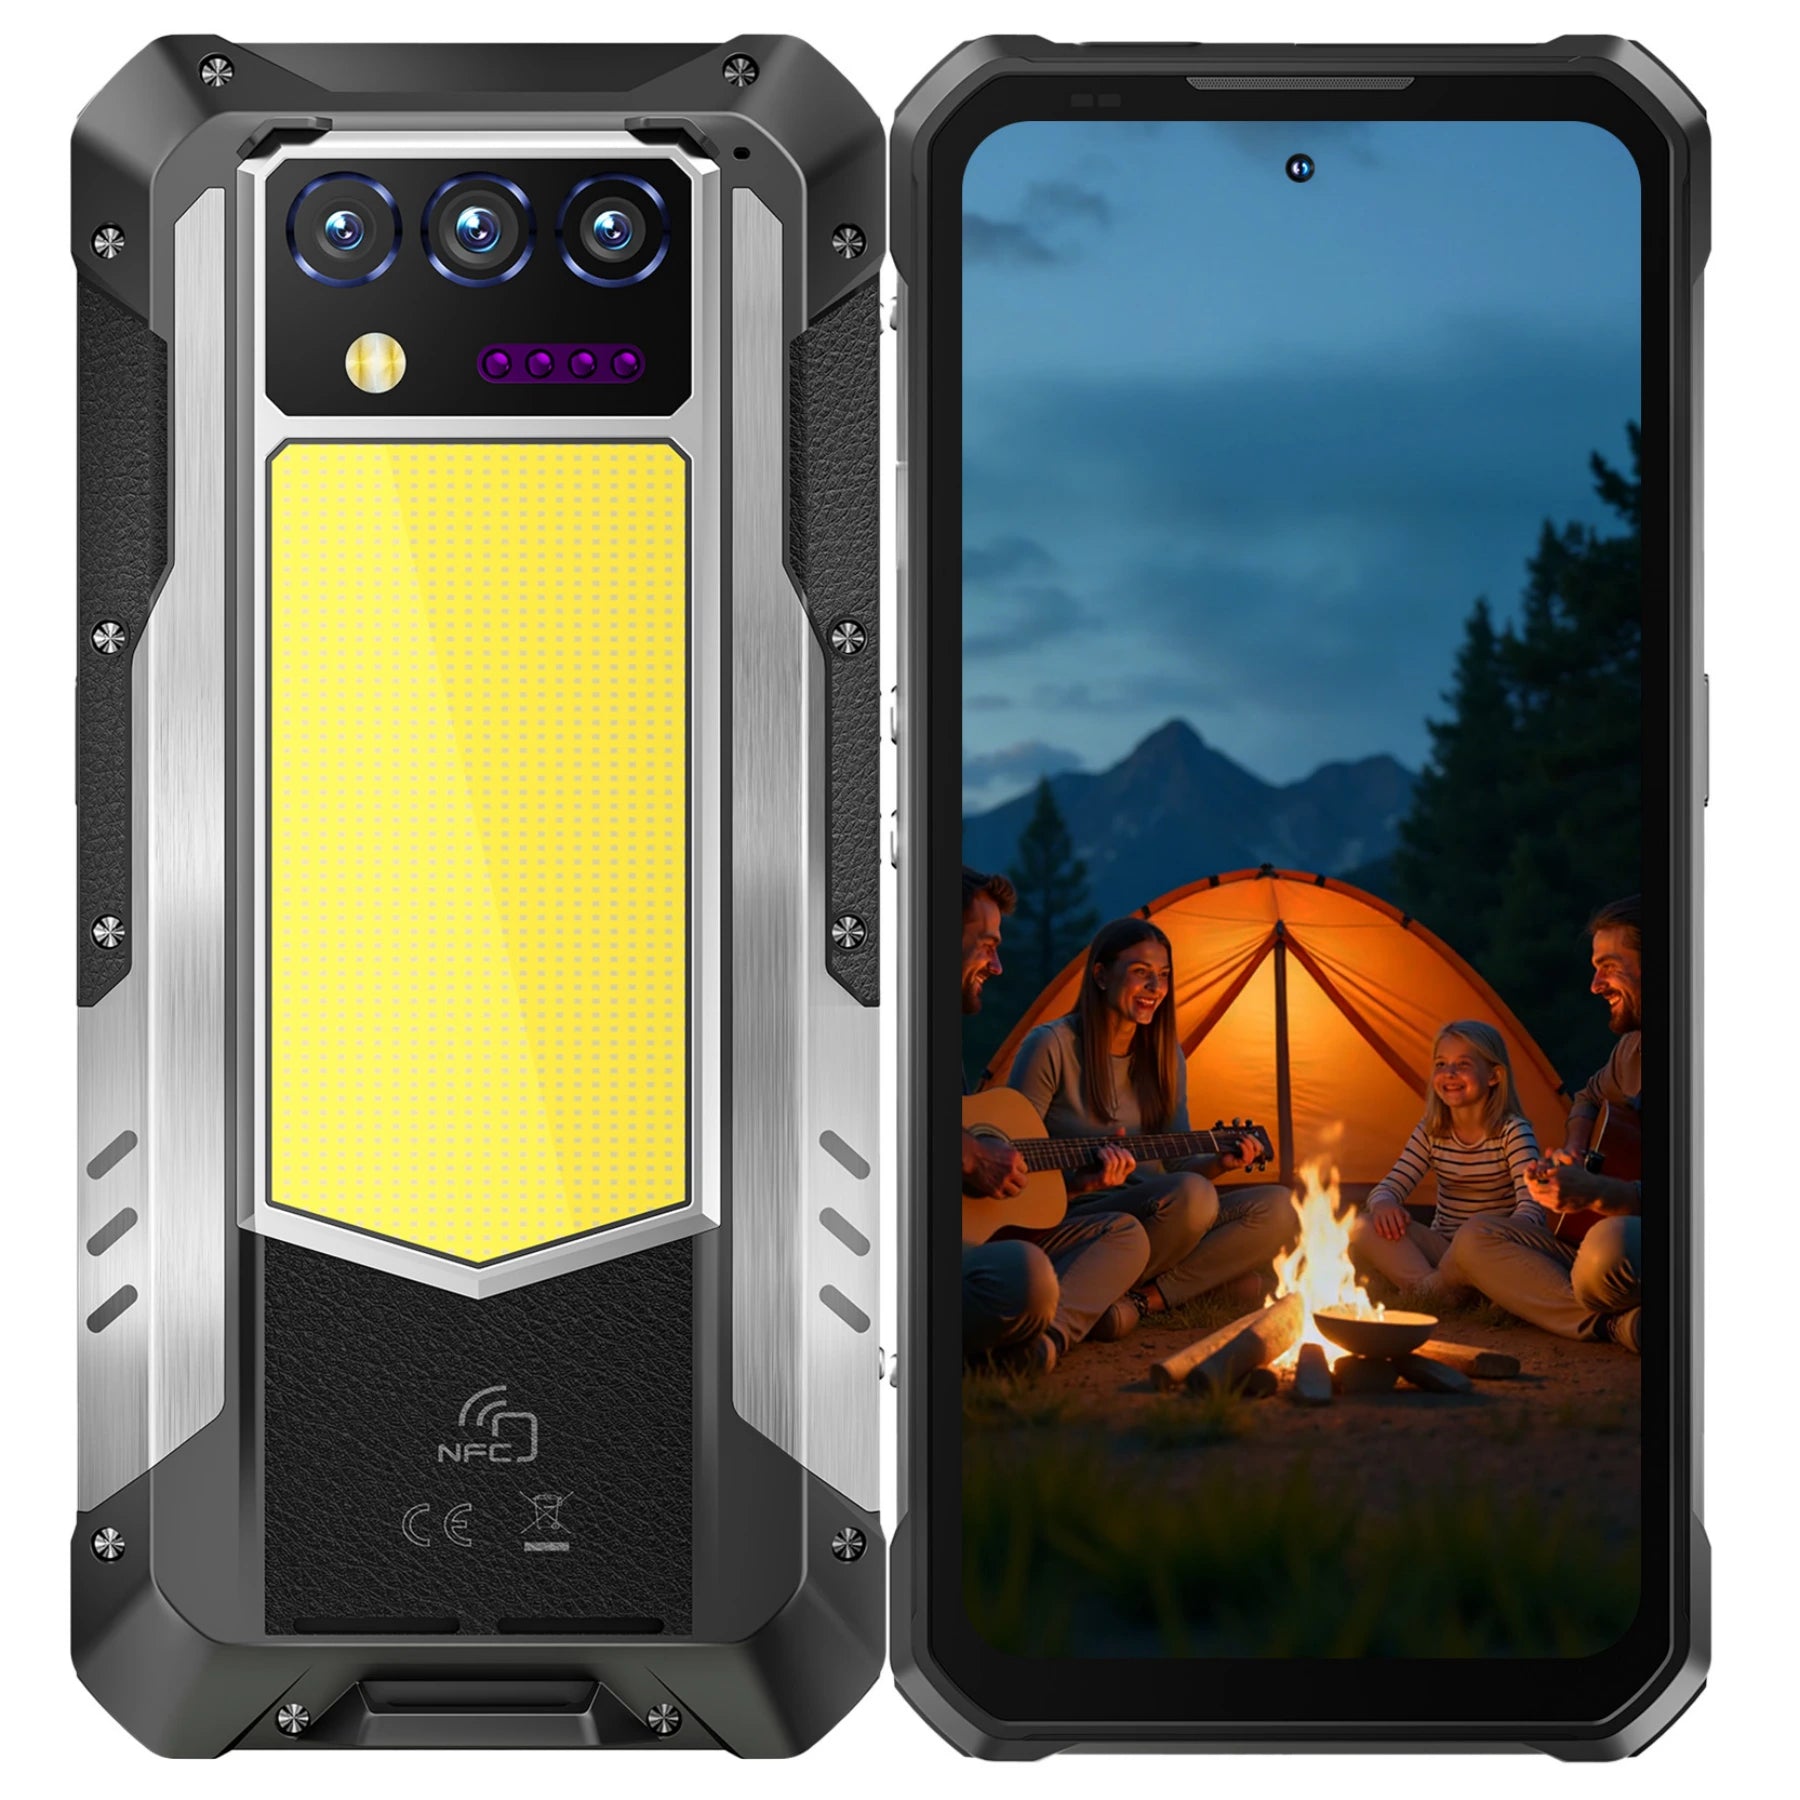
This is why a rugged phone with strong camera hardware can be useful. The OUKITEL WP500 5G Rugged Phone, for example, has a 108MP AI main camera for detailed shots and an 8MP night vision camera for darker scenes. Its rugged build and 10,000mAh battery also make it practical for longer outdoor use.
Still, good night photos depend on technique. Keep the phone steady, use light wisely, and choose the right camera mode.

How to Take Better Night Photos Step by Step
Before changing advanced settings, start with basic shooting habits. These small adjustments can quickly improve clarity and reduce blur.
Step 1: Clean the Camera Lens First
Clean the lens before shooting. Fingerprints, dust, rain spots, and oil can create haze around lights and reduce sharpness. Use a soft cloth if possible, and avoid wiping the lens with dirty gloves or rough fabric.
Step 2: Find a Stable Shooting Position
Camera shake is one of the most common reasons night photos look blurry. To reduce shake:
- Hold the phone with both hands.
- Keep your elbows close to your body.
- Lean against a wall, railing, rock, vehicle, or table.
- Use a tripod if available.
- Turn on a short timer before shooting.
These simple steps help the phone stay steady while it captures more light.
Step 3: Use Night Mode or Pro Mode
Use night mode when there is some available light, such as streetlights, signs, lanterns, or moonlight. It works well for city streets, buildings, landscapes, and still subjects. Use Pro mode when you want more control over ISO, shutter speed, focus, or white balance. It is useful when night mode makes the image too bright, soft, or unnatural.
Step 4: Adjust Exposure and Focus
Tap the subject on the screen before taking the photo. This helps the phone focus on the right area. If lamps, signs, or headlights look too bright, lower the exposure slightly. A slightly darker image often keeps more detail and looks more natural.
Step 5: Avoid Digital Zoom
Digital zoom reduces image quality, especially at night. It makes blur and noise more obvious. Move closer if it is safe. If not, take the photo without zoom and crop it later.
Step 6: Use Available Light Wisely
Available light can make night photos clearer and more natural. Useful light sources include:
- Streetlights
- Shop signs
- Flashlights
- Campfires
- Vehicle lights
- Headlamps or portable work lights
Place the subject near the light instead of directly under harsh light. Side lighting often looks better because it adds depth and avoids a flat look.
Step 7: Take Multiple Shots
Night photos are less predictable than daytime photos. Take several shots from slightly different angles or exposure levels. This gives you a better chance of getting one sharp, clear image.
Step 8: Edit Brightness and Noise Carefully
Edit lightly. Raise brightness or shadows only when needed, and reduce strong highlights if lights are too bright. Use noise reduction and sharpening carefully. Too much editing can make the photo look soft or unnatural.
Best Camera Settings for Night Photos on Android Rugged Phones
After you stabilize the phone and choose a good light source, camera settings can help improve the result. These settings are most useful in Pro or manual mode.
Use Lower ISO When Possible
ISO controls light sensitivity. Higher ISO brightens the image but adds noise. Use lower ISO for still scenes when the phone is stable. Use higher ISO only when shooting handheld or when the subject is moving.
Try Longer Shutter Speed Carefully
A longer shutter speed lets in more light, which can help with buildings, landscapes, parked vehicles, or night streets. However, it also makes movement blurrier. Use it only when the phone is steady, ideally on a tripod or stable surface.
Set White Balance for Natural Color
Night lighting can make photos look too yellow or too blue. Adjust white balance if the color looks unnatural. Use cooler settings for yellow streetlights and warmer settings for cold blue scenes.
Use HDR Only When It Helps
HDR can help when a scene has bright lights and dark shadows, such as signs, buildings, or streets. Turn it off when people, cars, or trees are moving, because it may cause ghosting or over-processing.

When Should You Use Night Vision Instead of Night Mode?
Use night mode when there is some visible light and you want natural color, such as on city streets, campsites with lanterns, or night portraits. Use night vision when the scene is very dark and visibility matters more than color, such as dark trails, outdoor inspections, or campsites with almost no light.
|
Situation |
Better Option |
|
City street with lamps |
Night mode |
|
Campsite with lanterns |
Night mode |
|
Dark trail |
Night vision |
|
Worksite inspection in darkness |
Night vision |
|
Portraits or social photos |
Night mode |
|
Need natural color |
Night mode |
|
Need visibility in near darkness |
Night vision |
If your rugged phone supports both, try both modes in difficult scenes. Night mode may look more natural, while night vision may show more detail in very dark areas.
FAQ
What are common night photography mistakes?
Common mistakes include using digital zoom, shooting with a dirty lens, moving the phone too much, relying too much on flash, and over-brightening the photo during editing.
Is night mode better than flash?
Usually, yes. Night mode gives a more natural look by using available light and image processing. Flash can help with close objects, but it may create glare and flat-looking subjects.
Can I take good night photos without a tripod?
Yes. Hold the phone with both hands, lean against a stable surface, or place the phone on a rock, table, or vehicle. A tripod is better for long exposure shots, but it is not always required.
What is the best time to take night photos?
Blue hour, shortly after sunset, is often the easiest time because there is still some light in the sky. Later at night is better for light trails, stars, and darker outdoor scenes.
Are rugged phones good for night photography?
Yes, if they have useful camera hardware and shooting modes. Rugged phones are especially practical for outdoor work, camping, hiking, and field documentation. A model like the OUKITEL WP500 5G Rugged Phone combines a 108MP AI main camera with an 8MP night vision camera, giving users more flexibility in low-light scenes.
Conclusion
To take better night photos with an Android rugged phone, keep it steady, use available light, avoid digital zoom, and choose the right mode. Use night mode for natural low-light photos and night vision for very dark scenes where visibility matters most.



Leave a comment
Your email address will not be published. Required fields are marked *